Common Mistakes New Beekeepers Make in Their First Year
Two weeks into your first season, the hive that looked tidy and manageable in April is booming, the bees are hanging off the entrance, and you are not completely sure what you are looking at. That moment arrives for almost everyone. Most of the trouble new beekeepers run into is not caused by bad luck or bad bees; it comes from a handful of habits that are easy to pick up and surprisingly hard to shake. Here are the ones that cause the most difficulty in year one, and the practical fixes that make the season calmer.
Over-inspecting, and inspecting without a reason
Opening a hive is the most satisfying part of beekeeping, which is exactly why new beekeepers do too much of it. Every inspection breaks the propolis seals the bees have built, lets warmth out of the brood nest, disturbs the queen's laying and spreads the smell of honey around the apiary, which can set off robbing from stronger colonies nearby. Once every seven to nine days through the main season is plenty. Twice a week is not thorough; it is disruptive.
Before you lift the roof, decide what you are there to find out. An inspection should answer questions, not simply confirm that the bees are still there.
- Queen: eggs or very young larvae are the proof. Seeing the queen herself is a bonus, not a requirement.
- Stores: how much nectar and pollen is in the brood box, and whether it is where the queen needs to lay.
- Space: empty drawn comb below, supers above, and whether they are filling faster than you expected.
- Queen cells: any at all, and what stage they have reached.
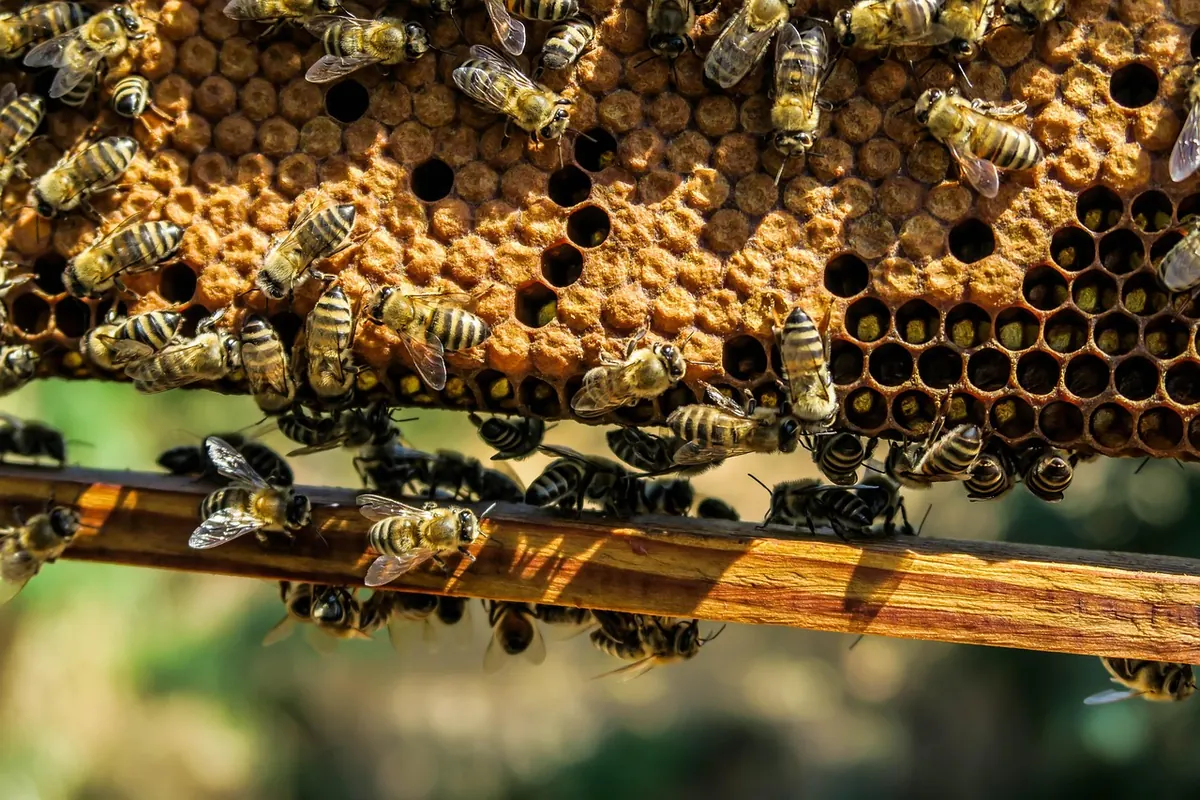
- Health: brood pattern, signs of disease or pests, odd smells, dysentery around the entrance.
- Temperament: how the colony behaves when you work it, compared with last time.
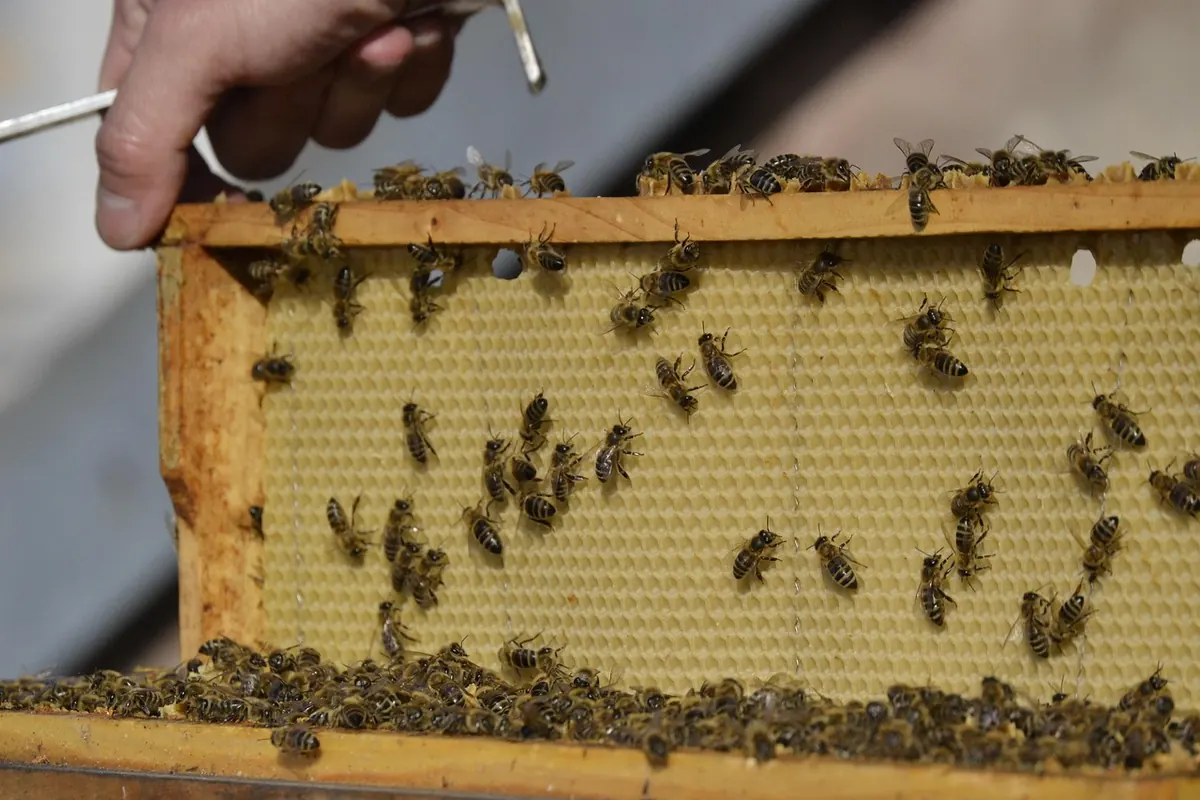
Aim to be in and out within ten to fifteen minutes. Work from the outside frames inwards, keep the brood nest covered where you can, and close up calmly. Then write down what you saw. If you cannot say what you achieved, the hive did not need opening. Skip it altogether in rain, strong wind, or temperatures below roughly 15°C.
Records that tell you nothing
By August you will not remember whether that colony had four frames of brood in June or seven. This matters, because the difference between a colony that is building steadily and one that is quietly stalling only shows up over weeks, not minutes. A notebook in the hive tool bag beats a vague memory every time.
- Date, time and weather.
- Frames of brood and stores, roughly counted.
- Queen seen, or eggs present.
- Queen cells, with their position and stage.
- Anything added or removed, and why.
- What you plan to check next time.
Write the notes before you leave the apiary, while your hands still remember what you handled. Photographs of a couple of frames each month are useful too, particularly of brood patterns and queen cells. A paper notebook works perfectly well; a spreadsheet or phone app is fine if it means you actually keep it up. The habit matters far more than the format.
Missing the swarming signals
Swarming is the single biggest source of lost bees, disappointed beginners and awkward conversations with neighbours. It rarely happens without warning. The colony becomes congested, the brood nest gets backfilled with nectar so the queen has nowhere to lay, drone numbers rise, and bees start hanging about at the entrance in the evening heat. Then come the queen cells.
Learn the difference between a play cup and a charged cell. A cup is an empty acorn-shaped start; a charged cell holds royal jelly and a larva; a sealed cell means the colony is close to going. Once cells are sealed, you may have only a few days. Have a plan in place by April, not the morning you find a cluster on the fence. That usually means one swarm control method you understand properly, a spare nucleus box with frames and foundation ready, and the phone number of your local association's swarm collector for the ones that get away.
Two mistakes are worth avoiding in particular. Do not knock down every queen cell without first checking whether the queen is still present and laying, or you risk leaving the colony hopelessly queenless. And if they swarm anyway, do not rush out and buy a replacement queen. Check for a virgin queen and give the colony a week to settle before you decide anything.
Setting up in a hurry
Many first-year problems are decided before the bees arrive. A hive jammed against a fence, facing a footpath, or sitting in a wet hollow will cause trouble all season. Choose a level, well-drained spot with morning sun and some shelter from prevailing wind, ideally so the entrance does not point at a neighbour's washing line or your own back door. Bees appreciate a reliable water source nearby, and so do your neighbours. Make sure you can get a full super off the hive and carry it to the car without a fight.
Buy the spare kit before you need it: a spare brood box, a feeder, spare frames, a queen excluder you trust, straps and a decent stand. Working at a comfortable height saves your back over a season. And resist the temptation to fill the garden with hives in year one. Two colonies is a sensible start — enough for comparison, not so many that one bad week swamps you.
Feeding and varroa by guesswork
New colonies often need help, particularly in a dearth or after a cold snap. Thin syrup in spring encourages comb drawing; thicker syrup in late summer and autumn builds winter stores. Do not feed while supers are on if you intend to harvest that honey, feed towards dusk in a proper feeder to reduce robbing, and never spill syrup around the hive. Get into the habit of hefting the hive from behind to judge its weight rather than opening it up to look.
Varroa is the other area where guesswork costs colonies. Monitor rather than assume, using an inspection tray, a sugar roll or drone brood checks, and treat only when the numbers justify it. Follow the product label exactly, treat at the right point in the season, and check again afterwards to see whether it worked. Timings and treatments vary with local conditions, so take advice from your local association or a bee inspector if you are unsure. Leave it until late autumn and you will be dealing with weakened winter bees.
Calling the season over in September
Autumn work decides how the next spring begins. Check stores and unite weak colonies while there is still time for them to combine into something viable. Fit mouse guards, reduce entrances, secure roofs and straps, and store spare comb properly so wax moth does not turn it into a mess. Clean and sharpen your tools, render the wax you have saved, and make a note of what you would do differently.
Through winter, check hives on mild days without opening them. Clear dead bees and snow from entrances, make sure ventilation is sensible, and guard against woodpecker damage if that is a problem where you are. This is also the season for reading, attending branch meetings and booking a course. Beekeepers who keep learning keep bees alive.
Three habits to carry into next year
Inspect with purpose, write it down, and have a swarm plan before spring arrives. If you can build those three habits, most of the other difficulties become manageable, because you will spot them early enough to do something sensible about them.
Find a mentor or join your local association if you have not already. Someone who has kept bees on your patch for a decade will answer in five minutes a question that could otherwise cost you a colony. Nobody's first season goes exactly to plan, and that is fine. Pay attention, keep notes, ask for help, and the second year will feel considerably less like guesswork.

Winterising Your Apiary: How to Prepare Hives for a British Winter
A practical guide to getting hives through a British winter: autumn feeding, varroa treatment, mouse...
Building vs Buying a Beehive: Cost, Time and Convenience Compared
Flat-pack, ready-made or built from scratch? A practical look at what each beehive option really costs in...
About Us