How to Inspect a Beehive: A Beginner's Step-by-Step Guide
There is a moment, about thirty seconds after the crown board comes off, when everything you have read about beekeeping goes very quiet and you are simply standing in front of several thousand bees. What carries you through it is not confidence. It is method.
A good inspection is a sequence of small, unglamorous actions performed in the same order every time. Get that sequence into your hands and the colony will tell you the rest.
Before You Open the Hive
Timing matters more than technique. Choose a warm, dry, still day — roughly 15°C or above, with bees flying steadily from the entrance. Midday to mid-afternoon suits most colonies, because the foragers are out and the brood nest is less crowded. Wind, rain and cold make bees defensive and leave brood exposed to chilling, so if the forecast turns, wait a day.
Lay your kit out before you lift anything, within arm's reach of the hive:
- Smoker, dry fuel and a reliable lighter
- Hive tool, ideally with a J-hook for lifting frames
- Clean gloves and a well-fitted veil
- Notebook and pencil
- A spare nuc or brood box with a lid, in case you need to set a frame aside
Ten to fifteen minutes is plenty for a routine check. Decide before you start what you are actually there to find out: eggs, brood pattern, stores, space, swarm cells.
Lighting the Smoker So It Stays Lit
A smoker that dies halfway through is worse than no smoker at all, because you end up fumbling with a lighter while the colony gets restless. Build it properly and it will run for the whole inspection.
- Crumple a sheet of newspaper or cardboard and push it to the bottom of the barrel.
- Light it and pump the bellows gently until it is properly burning.
- Add dry fuel in small handfuls — rotten wood, dried grass, pine needles, egg cartons — pumping as you go.
- Once smoke comes easily, top up with something slower-burning and close the lid.
Test the smoke on the back of your hand. It should feel barely warm. Cool white smoke settles bees; hot smoke singes wings and turns a calm colony cross. Two or three gentle puffs at a time is all you need.
Opening the Hive Without Upsetting the Colony
Approach from the side or the back, never across the entrance — that is the flight path and you will be standing in it. Give a couple of puffs at the entrance, wait a moment, then slide your hive tool under a corner of the roof and lever gently to break the propolis seal. Turn the roof upside down on the ground beside you, so you have somewhere clean to rest it.
Lift the crown board slowly, one corner first, and puff a little smoke across the top bars. Then stop. Thirty to sixty seconds of waiting lets the hum drop from a roar to a murmur. This pause is the single most useful habit in beekeeping, and the one beginners skip.
Working Through the Brood Box
Start at the outer frame nearest you. Lift it by the lugs and keep it vertical above the hive so the queen cannot tumble off. Look at both sides, then stand it in the spare box or lean it against the hive wall. Work inward, frame by frame, and put everything back in the same order at the end.
Find the Queen — or the Evidence of Her
You do not need to see the queen at every visit. Eggs standing upright in the base of cells prove she was laying within the last three days, and small white larvae curled in royal jelly are close behind. A colony with eggs and no visible queen is usually fine; note it and check again in a week. If you do spot her, mark which frame she is on and move on rather than holding her up for inspection.
Read the Brood Pattern
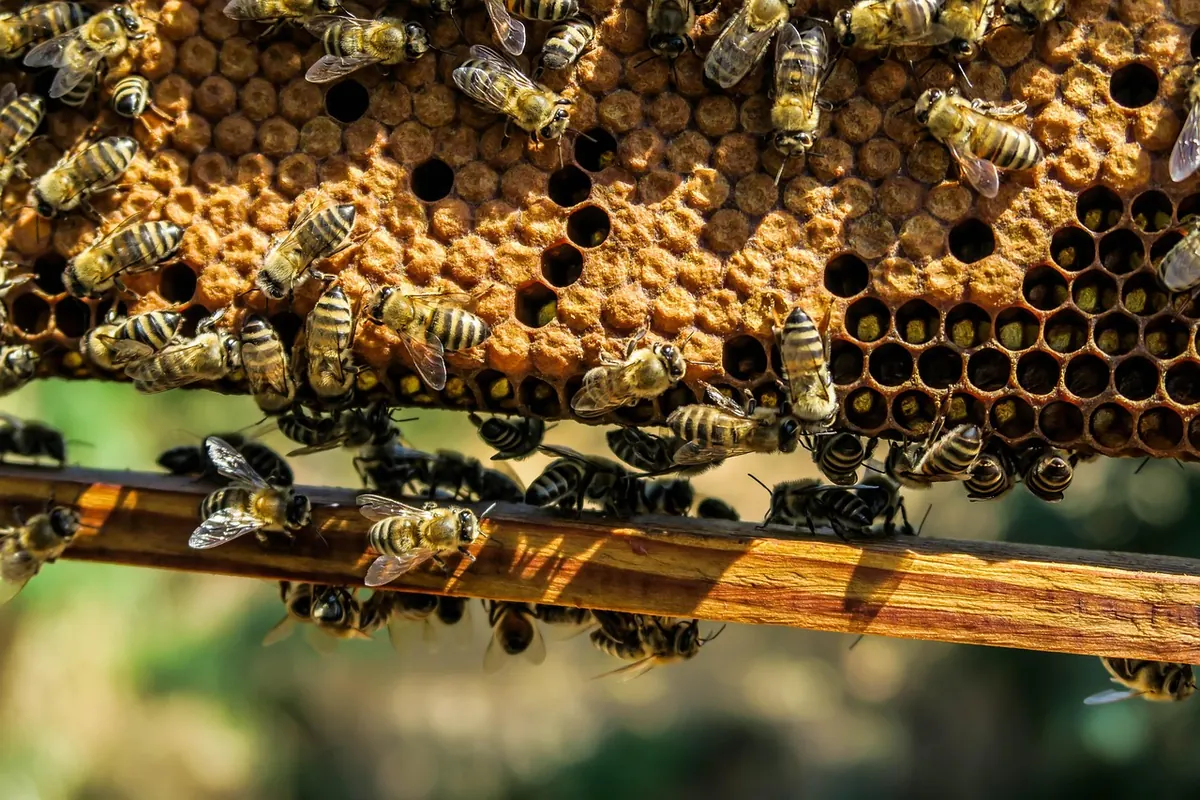
Healthy brood sits in a solid, even patch with biscuit-coloured, slightly domed cappings. Scattered brood with plenty of empty cells can point to a failing queen, disease, or chilled brood, so write it down and compare next time. Check cappings for sunken or perforated cells, and be honest about anything that looks ropey or discoloured. If foulbrood crosses your mind, close the hive, clean your hands and tools, and speak to your local bee inspector or association before opening another colony. Do not guess at brood disease — get a second opinion.
Look for Queen Cells and Room to Grow
From spring through midsummer, check the lower edges and bottoms of frames. Empty play cups are normal and can be ignored. A charged cell — especially a long one hanging from the bottom bar — means the colony may be preparing to swarm, and simply picking cells off rarely solves it. A split or an artificial swarm is the usual answer, so if you are unsure, ask an experienced beekeeper to look with you. Finally, check whether the colony has space: capped honey pressing down on the brood nest is a signal to add a super.
When an Inspection Doesn't Go to Plan
Some colonies are simply harder than others. They run over the frames, boil up the sides, or follow you across the garden. If bees are pouring out before you have reached the middle of the box, close up and come back tomorrow. Nothing is gained by fighting a defensive colony. If you drop a frame, set it down calmly, let the bees clear off it, and replace it — brood copes with a brief knock far better than you would think. A colony that stings persistently well away from the hive is worth thinking about replacing the queen for.
Closing Up and Recording What You Saw
Reverse your opening sequence. Return frames in their original order and slide them gently together, replace the crown board, check there are no bees on the rim, and settle the roof back on.
Then write it down while it is fresh: date, time, weather, frames of brood, stores, whether you saw the queen or eggs, any queen cells, temperament, and anything that puzzled you. A notebook works, but many beekeepers simply scribble on the roof with a pencil. Records turn guesswork into comparison, and comparison is how you learn what is normal for your bees.
Making Inspections Second Nature
Keep the order the same every time, keep the smoke cool, and keep the visit short. During swarm season, a seven-to-ten-day rhythm catches most problems early; outside it, you can afford to look less often. Finish each inspection by deciding one thing you will check next time. The aim is not a perfect inspection — it is one you can repeat next week, calmly, with the lid back on and the bees settled.
Photo: jldmat / Pixabay

Winterising Your Apiary: How to Prepare Hives for a British Winter
A practical guide to getting hives through a British winter: autumn feeding, varroa treatment, mouse...
Building vs Buying a Beehive: Cost, Time and Convenience Compared
Flat-pack, ready-made or built from scratch? A practical look at what each beehive option really costs in...
About Us