How to Set Up Your First Beehive in a UK Garden: A Step-by-Step Guide
Keeping bees in a small British garden is perfectly possible. A plot of six by four metres will hold a hive comfortably, and plenty of beekeepers start on less than that. What matters is the order you do things in: decide where the hive goes before you build it, build it before you buy bees, and leave yourself enough room to work. Rush those steps and you will spend your first summer fighting the setup instead of enjoying the bees.
Where to put the hive
Bees are forgiving about many things, but not about a badly chosen site. You want somewhere that catches sun early, because a colony that warms up in the morning gets going sooner. A south or south-east aspect is ideal. Shelter from the prevailing south-westerly will stop the roof being ripped off in a gale, and a hedge or fence a couple of metres away does that job without shading the entrance.
The flight path is the detail most new beekeepers overlook. Bees leave the entrance in a fairly straight line and gain height as they go. Point that line at a neighbour's patio, a washing line, a garden gate or your own back door and you will hear about it. Facing the entrance towards a hedge or fence about two metres away forces them up and over, well above head height. In a tight garden, angle the hive so the entrance looks along a boundary rather than across it.
Other things worth checking before you commit:
- Ground that is level, firm and drains well. A hollow that holds water will leave you standing in mud all winter.
- Space to stand behind and beside the hive with a full super in your hands. You will be lifting heavy boxes and you need somewhere to put them down.
- A route in. Carrying equipment across a wet lawn gets old quickly; a path of slabs pays for itself.
- Water nearby. A pond, a bird bath or even a dripping tap saves your bees from visiting next door's paddling pool.
- Permission, if it is not your land. Check tenancy agreements, leasehold terms and allotment rules, and talk to immediate neighbours before the bees arrive rather than afterwards.
It is also worth registering your apiary on BeeBase, the National Bee Unit's free service. It means you can be contacted if there is a disease outbreak in your area, and it costs nothing.
Building a stand that will not move
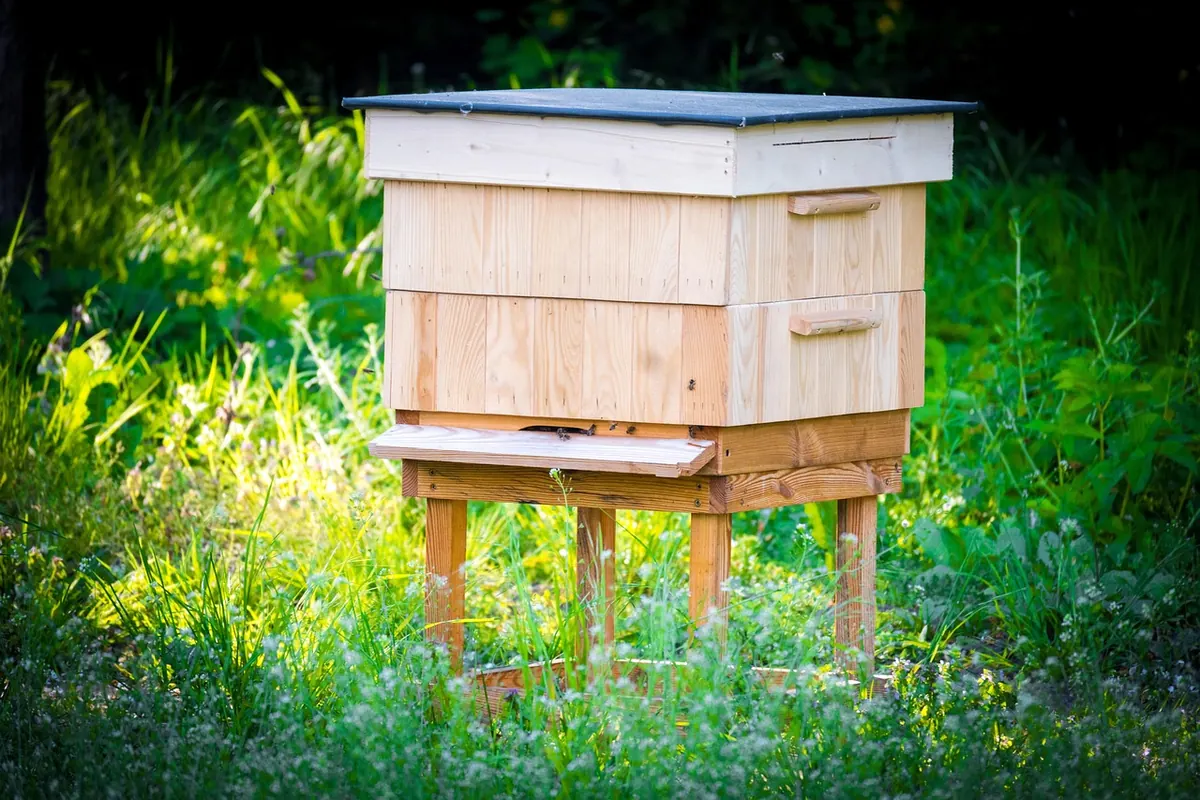
Never put a hive straight on the ground. Damp climbs into the floor, slugs and pests move in, and you will be inspecting on your knees. A stand lifts the hive to roughly 30–45cm, which is comfortable for most backs and keeps the floor ventilated.
Whatever you use — paving slabs, concrete blocks, timber, an old pallet on bricks — it has to carry real weight. A brood box, two supers and the bees in them is a serious load, and it will be standing there through winter storms. Set the stand on a hard surface such as slabs bedded on sand or gravel, level it in both directions, and give it a very slight tilt forward so rain runs off the roof and away from the entrance rather than into it. Treat any timber with a preservative on the outside only, let it dry completely, and never use anything you would not want near food.
Assembling the hive
Most British beekeepers use a National hive, and for good reason: spare parts are everywhere, second-hand equipment is easy to find, and frames of brood from another beekeeper will fit straight into your box. Langstroth and top-bar hives also work well. The ornate WBC looks lovely in a cottage garden but is fiddly to inspect, so think twice before choosing one as your first hive.
A basic setup consists of a floor, a brood box, frames with foundation, a queen excluder, one or more supers, a crown board and a roof, plus a dummy board, an entrance block and a feeder. Buy flat-pack and assemble it yourself over winter on a kitchen table — gluing and screwing the joints properly now saves you a wobbly hive later. Nail the frames, wax the foundation in, and check that everything sits square and true.
Do not stack everything up in your first year. A brood box with eleven frames, and one super ready for when it is needed, is plenty. Bees have to heat the space they occupy, and a colony rattling around in too much room builds up slowly.
Bringing home your first colony
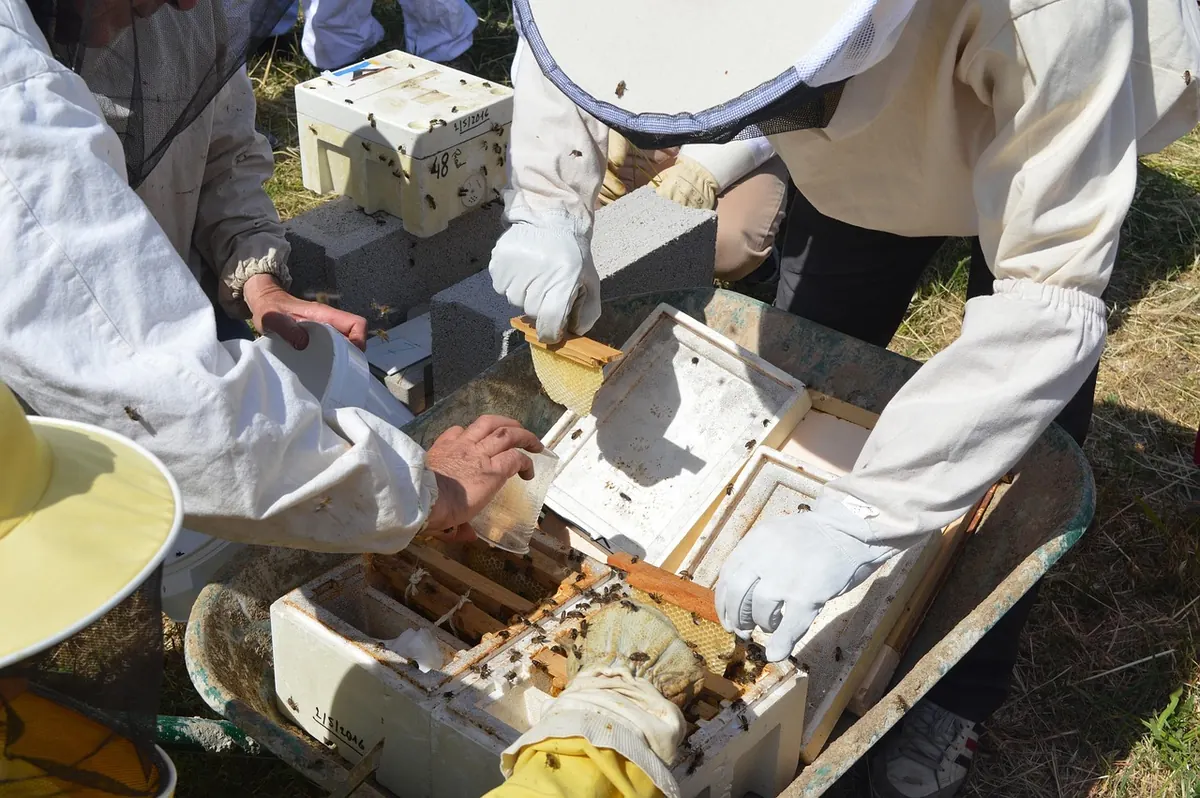
A nucleus — five frames of bees, brood and a laying queen — is the sensible starting point. You get a known queen, a colony that is already building, and a manageable number of bees to learn on. Local beekeeping associations often have nucs available in late spring, and buying from a known local source means bees that are adapted to your area and a seller you can telephone when something looks odd. Ask about the health history of the colony, and never accept a nuc you have not been able to inspect or that comes with no information.
Move the nuc in the cool of the evening or early morning, with the entrance closed and the box secured and ventilated. Once home, place it on the stand in its final position, open it up, and transfer the frames into the brood box in the same order, filling the rest of the box with frames of foundation. Replace the entrance block with a reduced opening for the first few weeks. If the weather is poor and there is no nectar about, feed a light syrup — but never feed while supers are on the hive.
The first few weeks
Leave them alone for a few days. Then inspect on a warm, still afternoon when the foragers are out. Work from the back or the side, keep the smoker gentle, and be quick — ten to fifteen minutes is enough.
What to look for
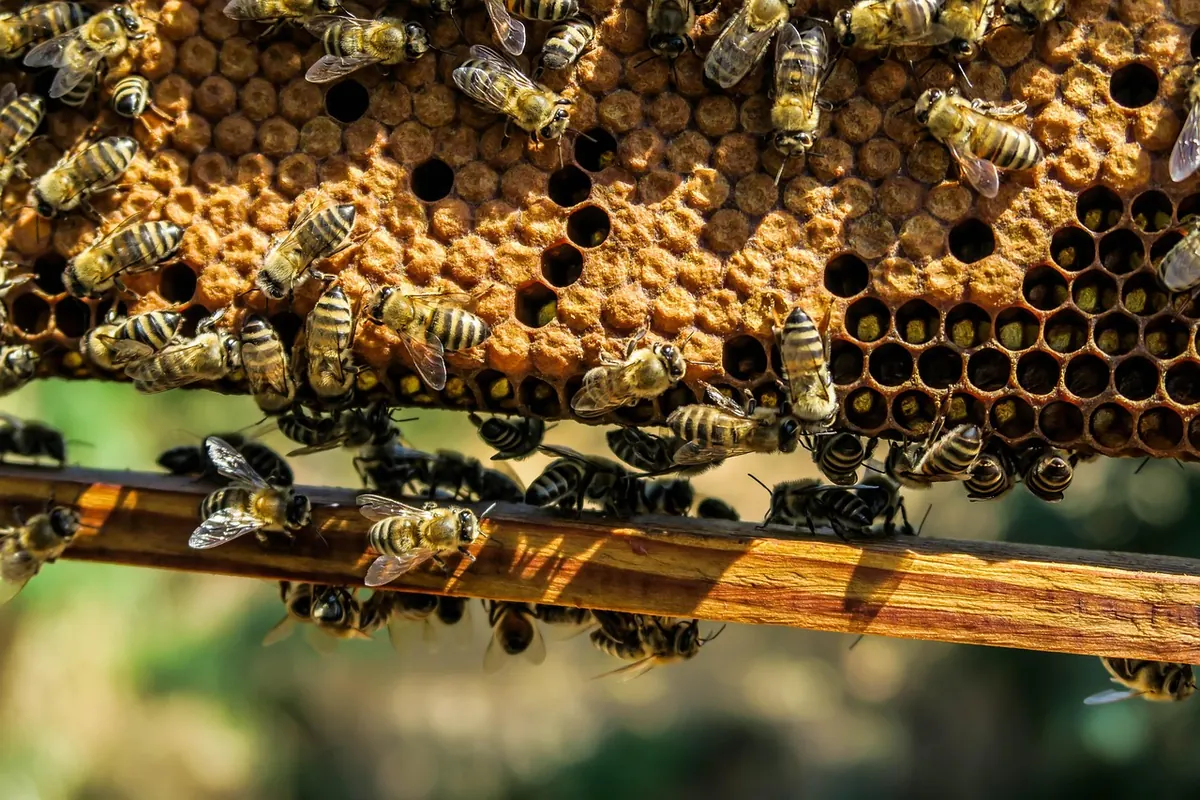
- Eggs and young larvae, which tell you the queen is laying, even if you never spot her.
- Stores of honey and pollen, and whether the colony has room to expand.
- Anything that looks wrong: sunken or perforated cappings, a scattered brood pattern, unusual smells.
- Space. When the brood box is getting crowded, add the super.
Keep a simple record — date, weather, what you saw, what you did. It is remarkable how quickly the details blur. Learn to monitor for varroa, and follow current guidance from your local association on treatment, as products and timing change. In late summer, reduce the entrance again to help the colony defend against wasps and robbing.
Your first season, realistically
Do not count on a honey crop in year one. The goal is a strong colony going into winter, and that is achievement enough. Expect to make mistakes — everyone leaves a frame out or drops a queen cage — so keep a spare nuc box, a spare super and a second veil on the shelf.
Joining a local association and finding someone willing to look over your shoulder is the single biggest thing you can do to make the first year go well; many associations also arrange third-party liability cover as part of membership. If you have any concerns about sting reactions, speak to your GP before you start, and let anyone living or working close by know that a hive is going in. Set up properly now, and the bees will do the rest.
Photo: PollyDot / Pixabay

Winterising Your Apiary: How to Prepare Hives for a British Winter
A practical guide to getting hives through a British winter: autumn feeding, varroa treatment, mouse...
Building vs Buying a Beehive: Cost, Time and Convenience Compared
Flat-pack, ready-made or built from scratch? A practical look at what each beehive option really costs in...
About Us